How to Easily Print Labels and Stickers at Home
Small business owners, students, organizers, and other creative hobbyists have taken to printing labels and stickers at home with great popularity. Users can make quality stickers and labels using inappropriate materials even without the use of professional services, since they just need the right printer settings, the right materials, and basic preparation. The knowledge of the necessary tools and procedures will assist in obtaining clean results and preventing frequent printing problems.
How to Print Labels and Stickers at Home
1. Choose the Right Printer for the Job
Inkjet printers can be used with colorful and vivid labels and tickers, and Laser printers are convenient for text-based printing that needs a large amount of printing. One should make sure that his or her printer is compatible with specialty stickers or label sheets.
2. Use Compatible Label or Sticker Paper
Choose adhesive-backed paper compatible with your type of printer. In inkjet printers, inkjet sticker paper should be used, and in laser printers heat-resistant sheets that are compatible with laser printers should be used to avoid smudging or melting.
3. Design the Label or Sticker in the Correct Format
Make sure that you design the tools or templates correctly. Popular programs may be simple word processors, label design applications, or online design programs which may support layout grid systems with precision.
4. Adjust Printer Settings Before Printing
Select the type of paper (labels, cardstock, or photo paper) depending on the material used. Change quality options depending on the necessity of high clarity or fast printing.
5. Test Print on Regular Paper
The consistency, size, and balance in colors can be confirmed by testing before printing on sticker sheets. This minimizes the wastage, and the finished product will resemble the intended product.
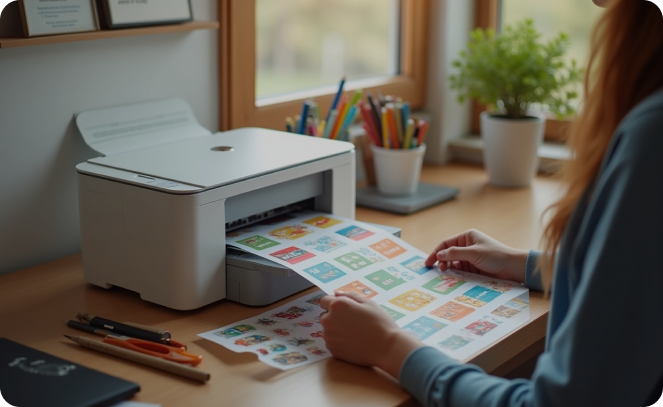
6. Insert Sticker Sheets Properly
Inkjet OK Visualization: inspect the print surface of the sheet and insert it according to the instructions of your printer. When one loads incorrectly, it may result in misprints, smudges, or jamming of the paper.
7. Slowly Print and Review Progress
Other stickers are advantages have been observed, such as using slow or high-quality print settings so that ink can get absorbed and the stickers become clear, and mainly they are used in elaborate designs.
8. Allow Stickers to Dry (Using Inkjet Only)
When printing using an inkjet printer, then peeling or cutting the stickers should not be done before the ink is fully dry to prevent messing up.
9. Tape and Stick Perfect Stickers
In the case of any paper sheets that do not have the pre-cut outlines, use a paper cutter, a pair of scissors, or any other cutting tool to cut the stickers to fit the outlines provided in the design.
Conclusion
Removing the labels and stickers at home can be a cheaper and creative option for satisfying personal and small business needs. Using the appropriate type of printer and sticker paper, setting up the correct settings, and using a systematic design and printing process, users can obtain the look of professional work with minimal effort. The consistency will increase with experience because the user will already be familiar with the capabilities and favorite designs of their printer.